The Dashboard brings together all the information relevant to your business in one place, from where contacts sit in your opportunities pipeline to how your ad campaigns are performing. With so much data on screen, things can quickly start to feel cluttered or hard to follow.
That's where the Title element helps. You can use it to label sections of your dashboard, leave notes for your team, or give the layout a more branded feel.
To get started, enter editing mode by clicking the pencil icon.

Click Add Widget to open the left-side menu. Head to the Elements tab and select the Title element.

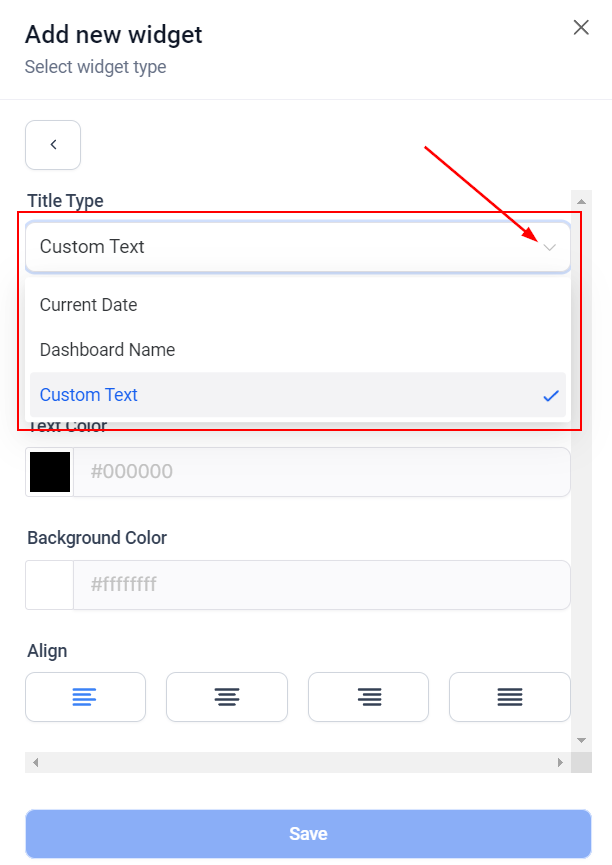
For the dashboard Title, you can choose between the Current Date, Dashboard Name, or Custom text.
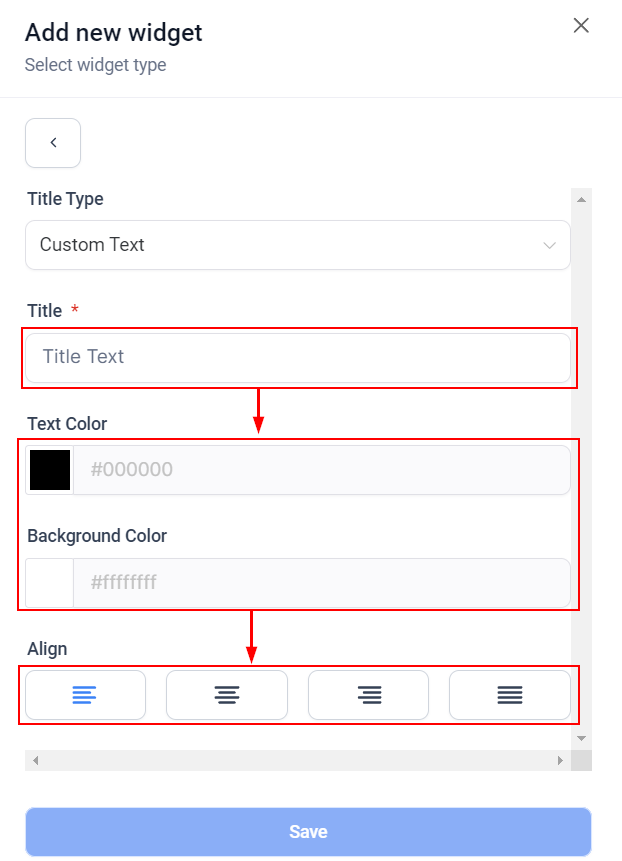
For the Custom Text option, type your desired text in the Title box. You can change the colour of the text or background, as well as the text alignment.
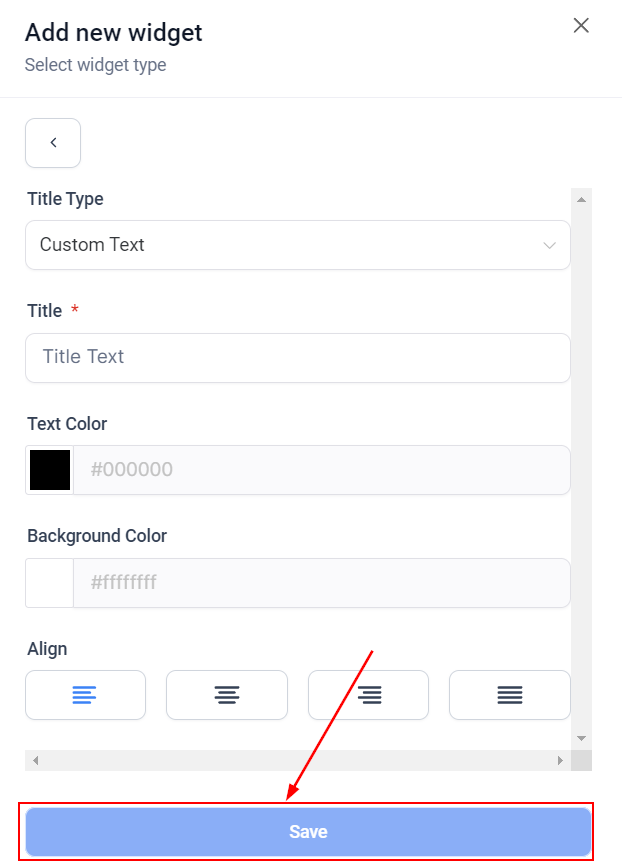
Once you're happy with your text, click Save to add the Title box to your Dashboard.
You can also reposition the title by dragging it, or resize it by pulling the right-hand corner.
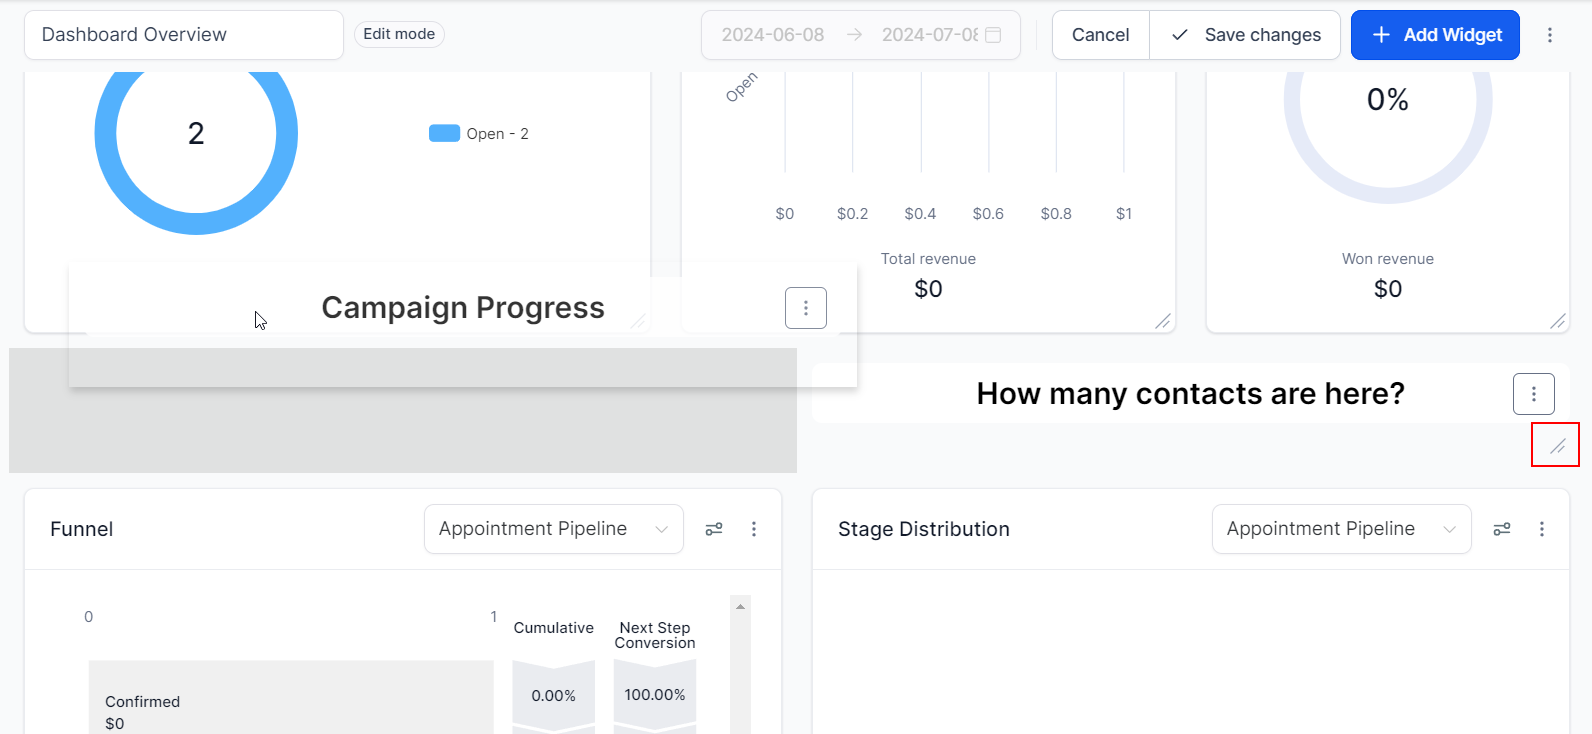
Once you're happy with the position and appearance, click Save Changes. Now you can add Titles to your Dashboard. If you'd like to customise your dashboard further, take a look at the other articles in this section.