The Team Management section of the My Staff area gives you everything you need to manage your team, including the ability to add or remove users from your account. It's a single place to keep your team's access and membership up to date.
Team Members List
When you open the page, you'll see a list of all team members who have access to the account, along with their name, email address, and phone number.

Filter Users
To filter by role, click the Role dropdown and select all, user, or admin. The list updates automatically to show the relevant team members, making it easier to find specific people in your organisation.

Search Bar
To find a specific team member, type their name, email address, or phone number into the search box.

Adding New Users
To add a new employee, click on the Add User button.

Deleting Team Members
To delete a team member, click the trash can icon to the right of their name. A pop-up will ask you to type "DELETE" to confirm. The user will be unassigned from Calendars, Campaigns, Conversations, Contacts, Smart Lists, Opportunities, Triggers and Twilio Numbers in ALL Locations they currently belong to.

Removing Users
To remove a user from the current location only, click the backspace icon. A pop-up will ask you to type "REMOVE" to confirm. The user will be unassigned from Calendars, Campaigns, Conversations, Contacts, Smart Lists, Opportunities, Triggers and Twilio Numbers in the current location.

Editing Team Members
To edit a team member, click the pencil icon to the right of their name. A pop-up will open where you can update their user info, permissions, roles, call & voicemail settings, availability, and calendar configuration. You can also remove a team member from this location with the crossed-out tag icon, or delete them with the trash can icon.

Edit User Information
You can add a personal logo for each user. For each employee, fill out their basic information: Name, email, and phone number. You can also add phone extensions here.

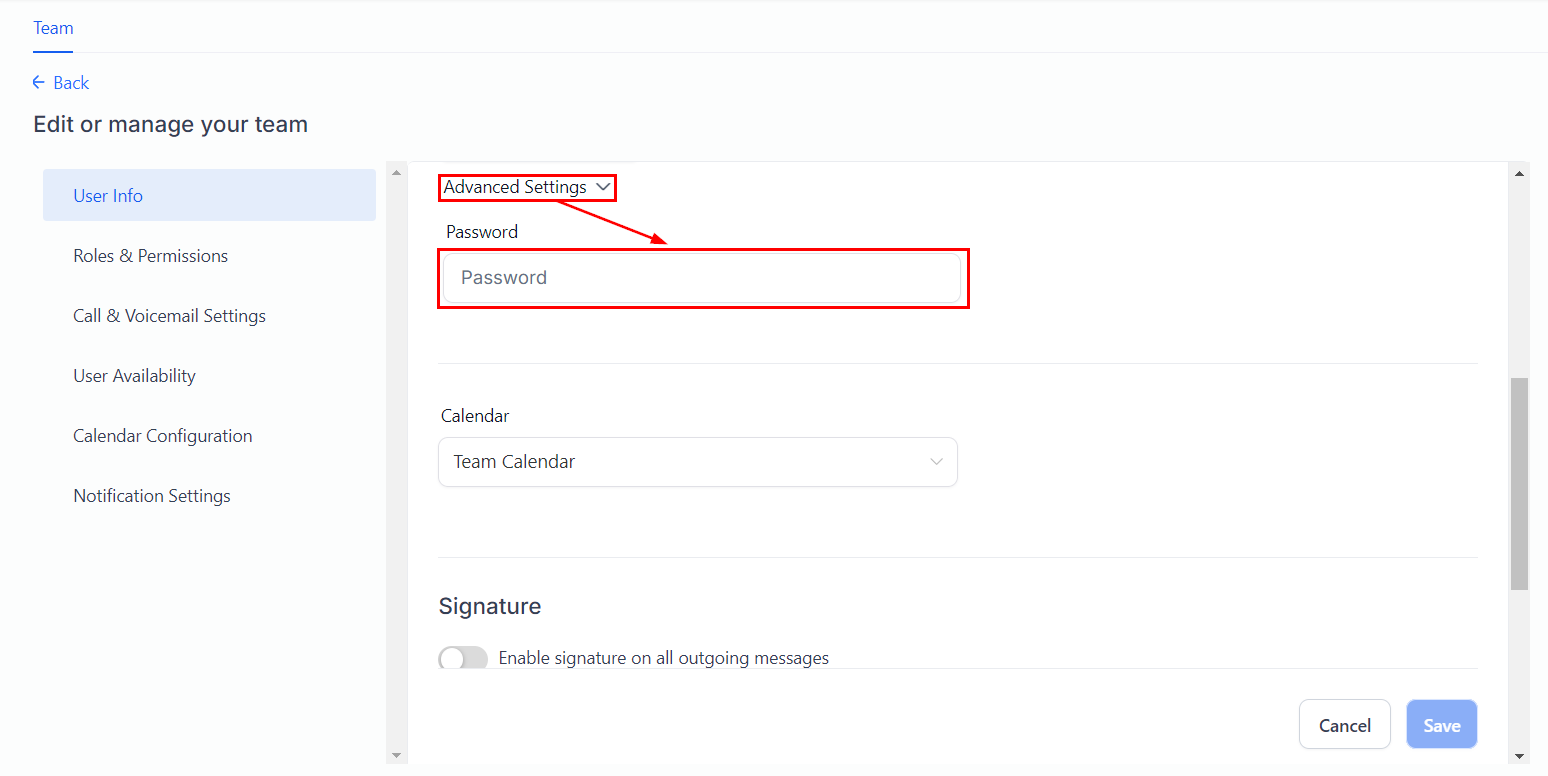
By opening advanced settings, you can set and reset each user's passwords and assign each user a specific calendar.
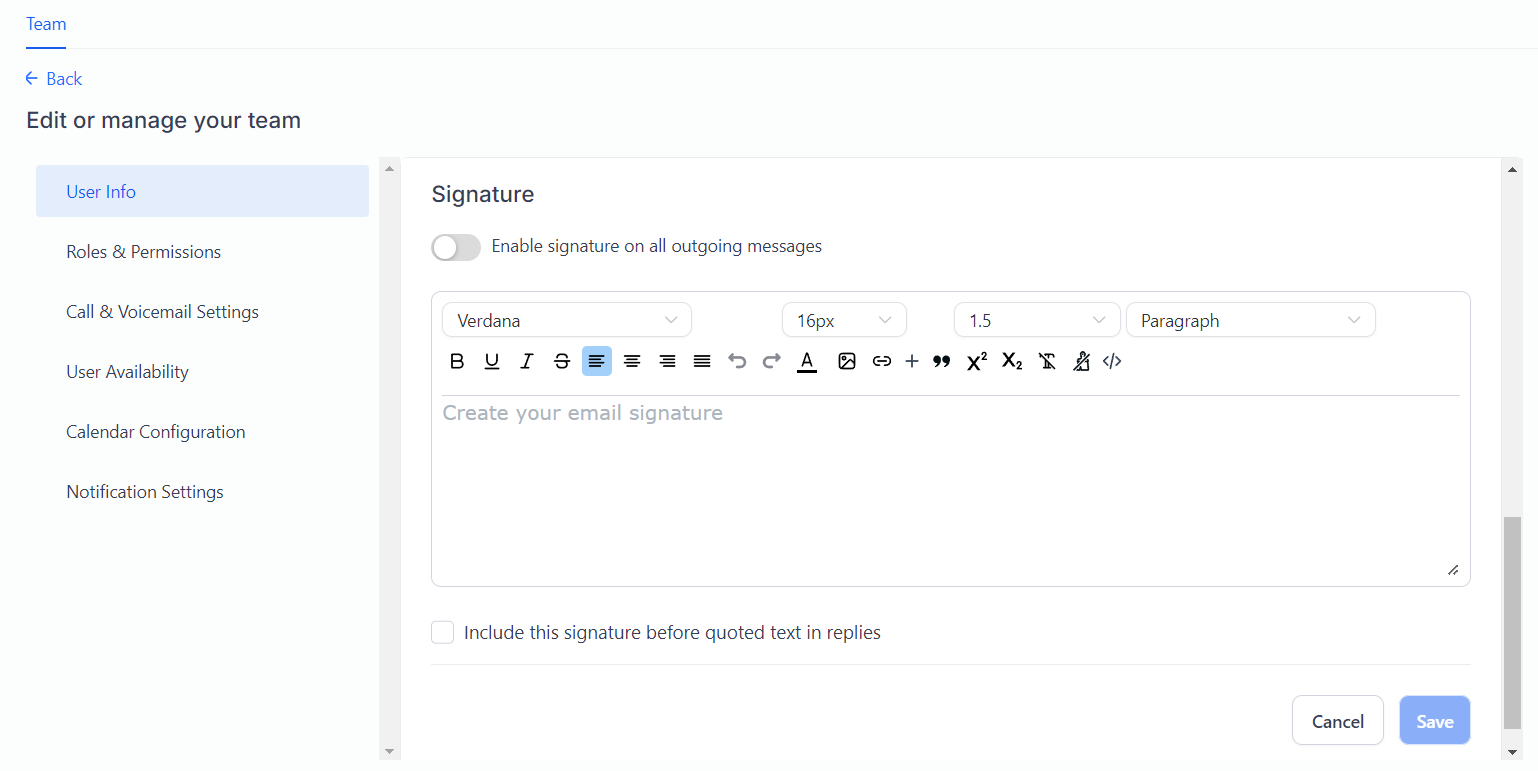
You can set up an email signature for each user, which is useful for the campaigns they're assigned to.
Edit User Roles
In the User Roles section, you can set a user as either a general user or an administrator. This lets you manage access levels based on each team member's role within your organisation. For general users, the Data Visibility Scope lets you restrict them to only their assigned data, or give them access to everything.

Edit User Permissions
As an administrator, you can toggle permissions on and off for each user. Turning an option off hides that section of the CRM from the relevant team member. This is useful if you want to restrict what certain people can see or edit in the CRM.

Once you've set the permissions for any user, you can click on Copy Permission to reuse them for others.

After clicking the button, select the user you want to copy them to and click Apply.

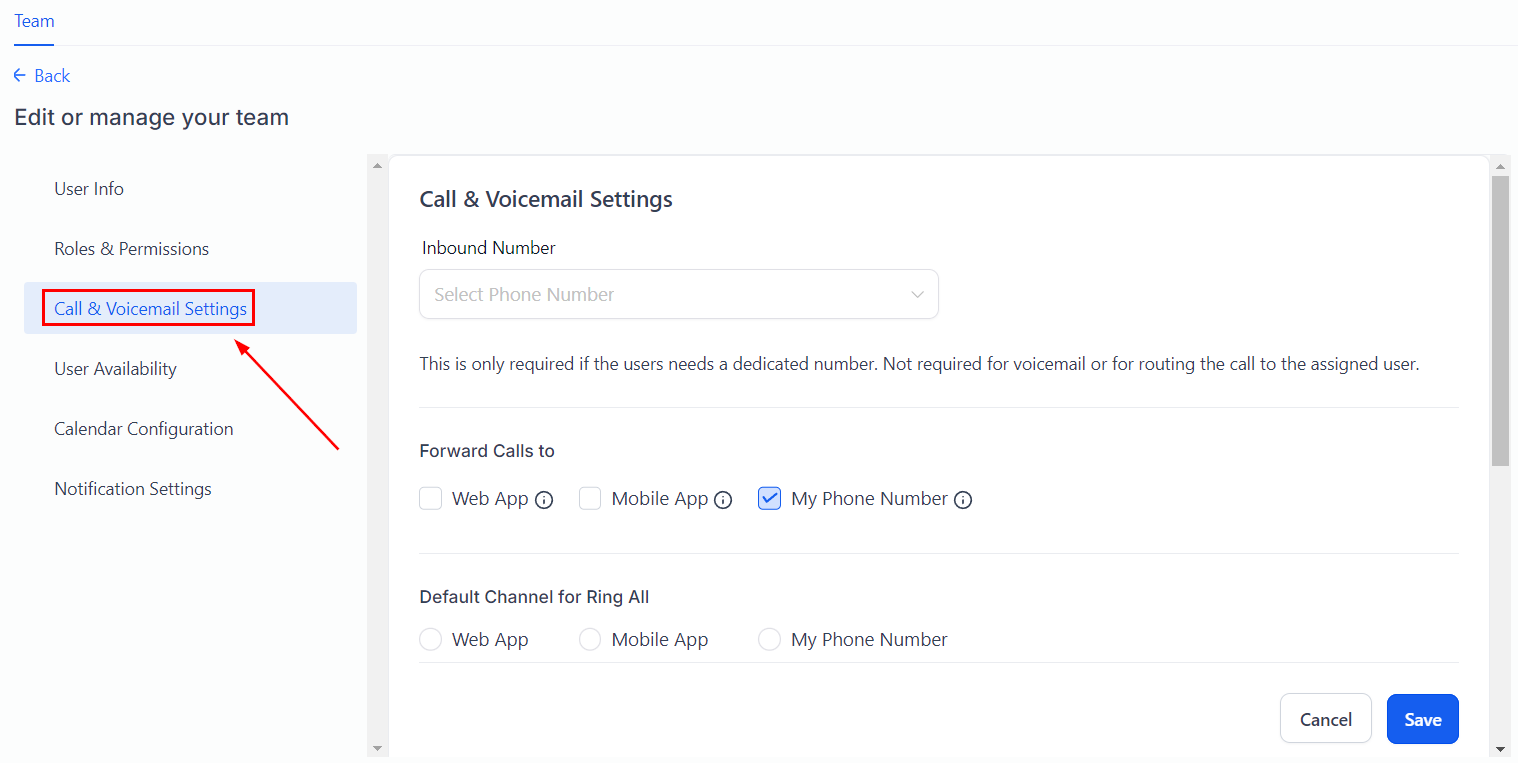
Edit Call & Voicemail Settings
In the Call & Voicemail Settings, you can set an incoming call timeout and upload an MP3 or WAV file as the user's voicemail greeting.
These settings let you personalise the call experience for your team and the contacts they speak with. You can also add an inbound Twilio number if the user needs a dedicated number, and choose where calls are forwarded.
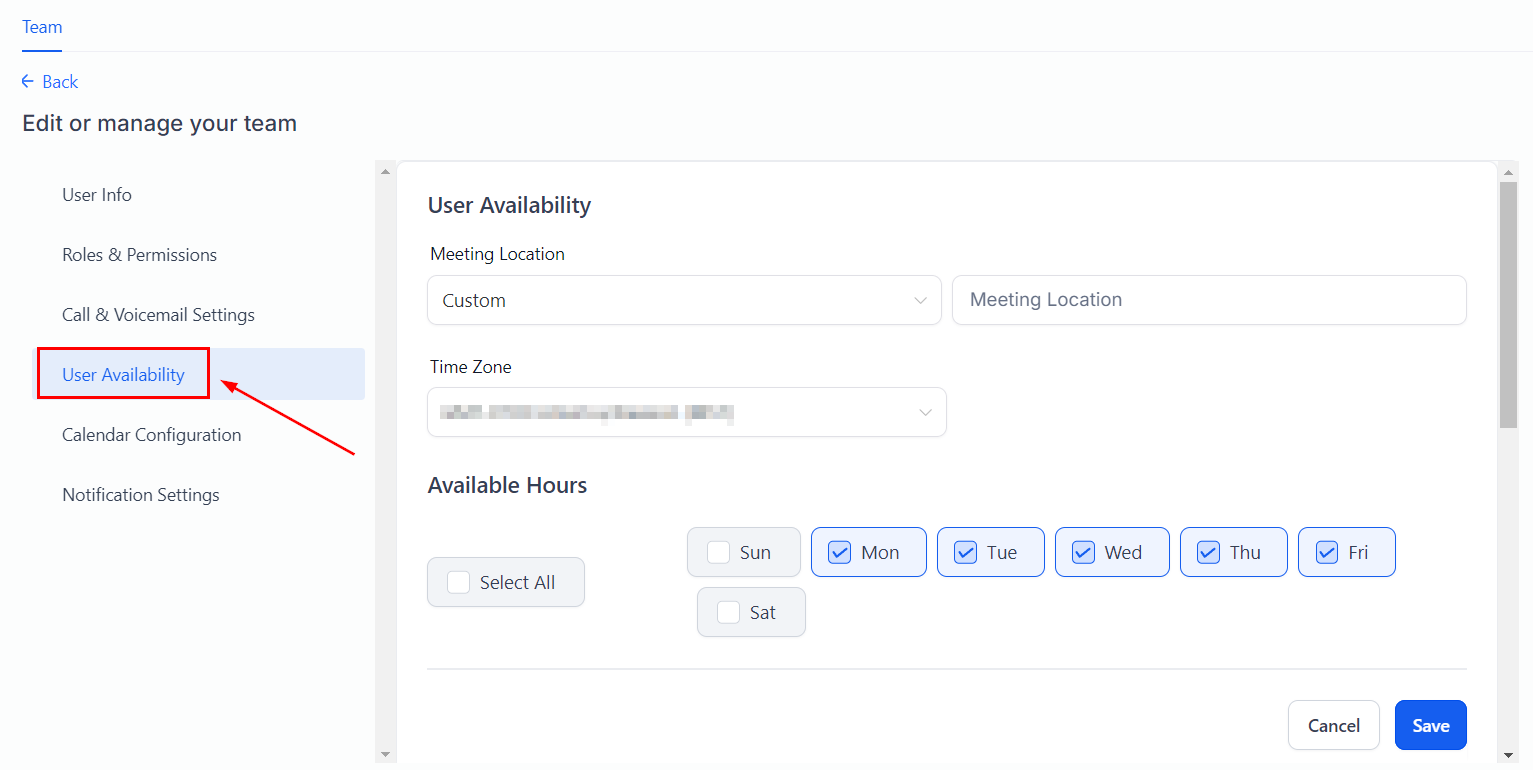
Edit User Availability
In the User Availability section, you can set the team member's calendar availability for meetings. Choose a meeting location from the dropdown.
If you choose a custom location, type it in the box. Select the correct time zone from the dropdown. Toggle the days your team member is available by clicking on them, then set the available hours for each day.
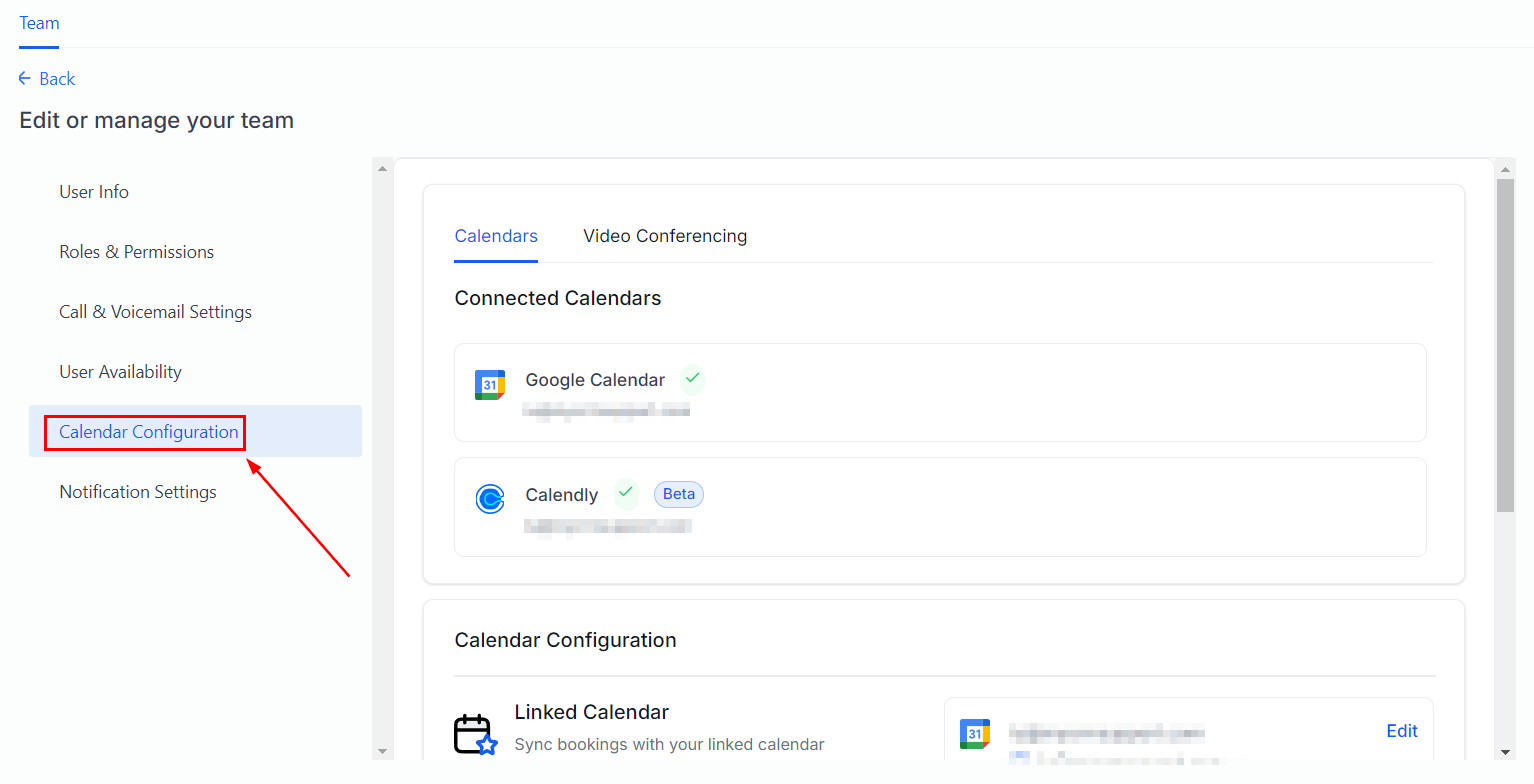
Edit Calendar Configurations
Under Calendar Configurations, select a Calendar or Video Conferencing account for the team member; this will be used for scheduling. You can also add additional calendars to check for scheduling conflicts.
####
Notification Settings
Here you can choose which notifications the user will receive and where they're sent.

Make sure to click Save when you're done. This will add the new user to the system and send them an email. If you didn't set a password in the previous steps, the email will prompt the user to create one and log in.
Now you can add all your team members with the right permissions and access level so they're ready to go from day one.