Keeping your social media active is essential these days. It helps you connect with prospective customers, engage new viewers, and expand your online presence at low cost. For good results, though, you need to be consistent, and the best way to stay consistent is through planning.
Using The Post Builder
When you're ready to publish new content, click the blue "New Post" button in the top right corner of your page.

Click "Create New Post."

New Social Post
Select the social media accounts or groups you want to share the post with.

Type in the text content you'd like to publish. You can also add rich media, hashtags, and more in this field.

Add formatting elements like bold and italicised text, images, and even videos before hitting the "Save" or "Post" button. The icons below let you personalise the post even further. Here's what each one does:

- This is your AI tool; with it, you can get your captions written or corrected, simplifying the post-creation process.
- Modifies the look of selected text by making it Bold.
- Modifies the look of selected text by making it Italic.
- Add Emojis to your post. These are the standard emojis, so they are visible across all devices.
- Add Images to your post. Here, you have the option to create them using AI or upload them from your Media Library.
- Add Documents from your Media Library.
- Add videos to your post. This redirects you to your Media Library so you can select from the ones you have or upload a new one.
- Add hashtags to your posts. This option also lets you save frequently used ones for easy access.
- Quickly access your Custom Values here.
- This option allows you to insert shortened links to your post.
- Here, you can tag a location to make your post easier to find; this is available for Facebook and Instagram posts.
Google My Business Options
If you select Google Business Profile (formerly known as Google My Business), you can choose between Call to Action, Event, or offer options. You can also select the appropriate button label.

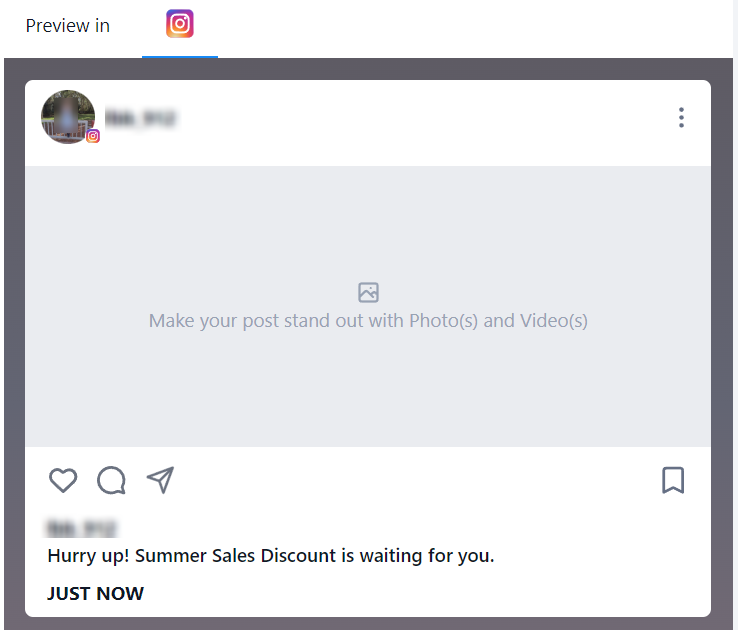
Preview
You can preview all your content here before you post it.
Advanced Options
You will be able to "Apply Watermark", select "Category" and add "Tags" also under the "Advanced Options".

Save For Later
You can save this update as a draft until you are ready to post it.

Post
When you click the "Post" button, you'll see different sending options:
- Post Now: This will allow you to send this post to the selected social channels/accounts.
- Schedule Post: This will allow you to schedule a post for a later date or time. Choose the date and time from the calendar and time slot.
- Send Post for Approval: This allows you to send for approval first within your agency or organisation. Choose the date and time from the calendar and time slot, and select an approver. You can add notes as well.
- Schedule Recurring Posts: This feature allows you to schedule a post to recur within a specific time frame of your choosing.

Clicking "Post Now" or "Schedule Post" will display the "Best Time to Post" based on your audience's engagement trends. Set the time based on this guide or select a custom time from the dropdown.

Upload from CSV
Click the "New Post" button and select the "Upload from CSV" button to go to the upload page.

Upload
You'll then be prompted to select a posting format.
The Basic Format supports essential elements such as the date, content, OG meta URL, image links, video links, and GIFs. The Advanced Format provides expanded functionality, including platform-specific post types (e.g., Post, Story, Reel, Shorts), watermarking, tags, categories, follow-up comments, and enhanced options for Google Business Profile (post types, calls-to-action, events, offers), YouTube (title, privacy settings, video type), TikTok, LinkedIn PDFs, Pinterest board selection, and more.

After selecting the format you want, download the sample file or review the formatting tips to make sure your file follows the guidelines. Then click to upload the file or drag and drop it.
📌Note: A maximum of 90 posts can be uploaded per CSV or xlsx file.

Once you have uploaded the CSV file, click the 'Next' button.

Use the drop-down menu to select the accounts you'd like to post to.

Check the box next to Send for approval and select a user to authorise the posts if needed.

Once ready, click Create.

Once the posts are imported, they are reviewed by the chosen approver. Once approved, they are scheduled on the social calendar. Using both of these methods lets you manage your social media presence with confidence, giving you a straightforward way to create, schedule, and organise your content.