Bringing external data into your workflows can save time and improve how you manage leads and outreach. By connecting your workflows with Apify, you can run scraping jobs, collect structured data, and trigger actions automatically, without relying on extra tools or complex setups. This guide explains how the integration works, why it matters, and how to set it up effectively.
Key Benefits
Using Apify within your workflows has several advantages:
- Automated data collection: Run scraping jobs without manual exports or extra tools.
- Faster data enrichment: Enhance contact records with real-time external data.
- Responsive automations: Trigger workflows as soon as data is ready.
- Simplified setup: Keep everything connected within one system.
- Flexible workflow design: Start with either a workflow event or an Apify job completion.
Available Triggers
Triggers start a workflow after an Apify process is complete:
- Finished Actor Run: Starts when an actor finishes running
- Finished Task Run: Starts when a task completes
These are useful when your workflow depends on completed data collection.
Available Actions
Actions send tasks from your workflow to Apify or retrieve results:
- Run a Task: Executes a saved Apify task
- Run an Actor: Starts an actor with custom input
- Scrape Single URL: Extracts structured data from a webpage
- Fetch Dataset Items: Retrieves results from a completed run
- Find Last Task Run: Gets details from the most recent task
- Find Last Actor Run: Gets details from the most recent actor
How to Set Up Apify in a Workflow
A straightforward setup means your workflow runs smoothly and processes data correctly.
Open a workflow
Create a new workflow or open an existing one.

Configure the step
Select the trigger or action that fits your goal. For example:
- Use Finished Actor Run to respond after scraping completes
- Use Run a Task to start a predefined job
- Use Scrape Single URL to collect data from one page

Connect your account using your API key if you have not already done so.

Add a Wait Step When Needed
If your workflow runs an Apify job and then needs the results, include a Wait step before fetching data. This gives the job enough time to finish.
Test and publish
Run a small test, confirm the data is correct, and then publish your workflow.
Connecting your workflows with Apify lets you automate data collection, improve lead quality, and respond faster to new information. Set up the right triggers and actions and you can build efficient, data-driven processes that run with minimal manual effort.
Common Use Cases
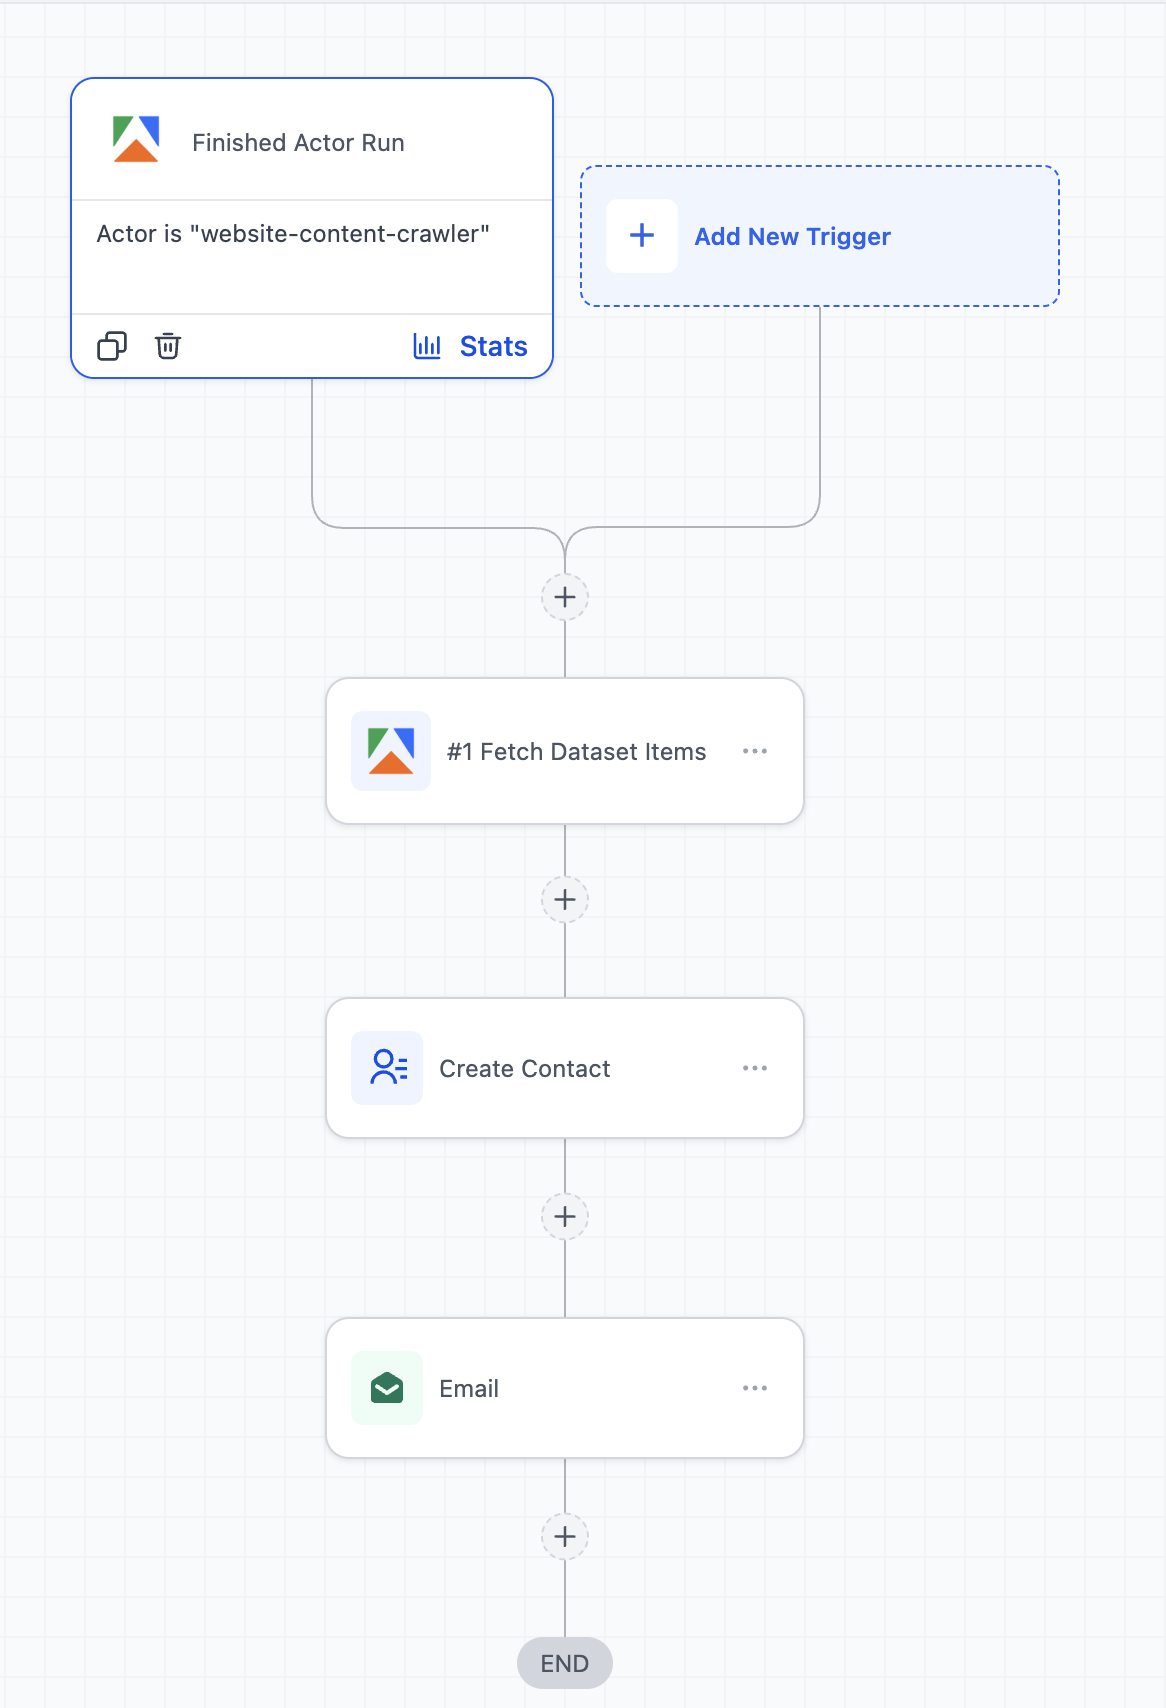
Local Business Lead Generation
Automatically collect and use business data for outreach campaigns.
Example: A scraping job collects local business listings → the workflow imports the data → each contact is added to an email or SMS campaign.
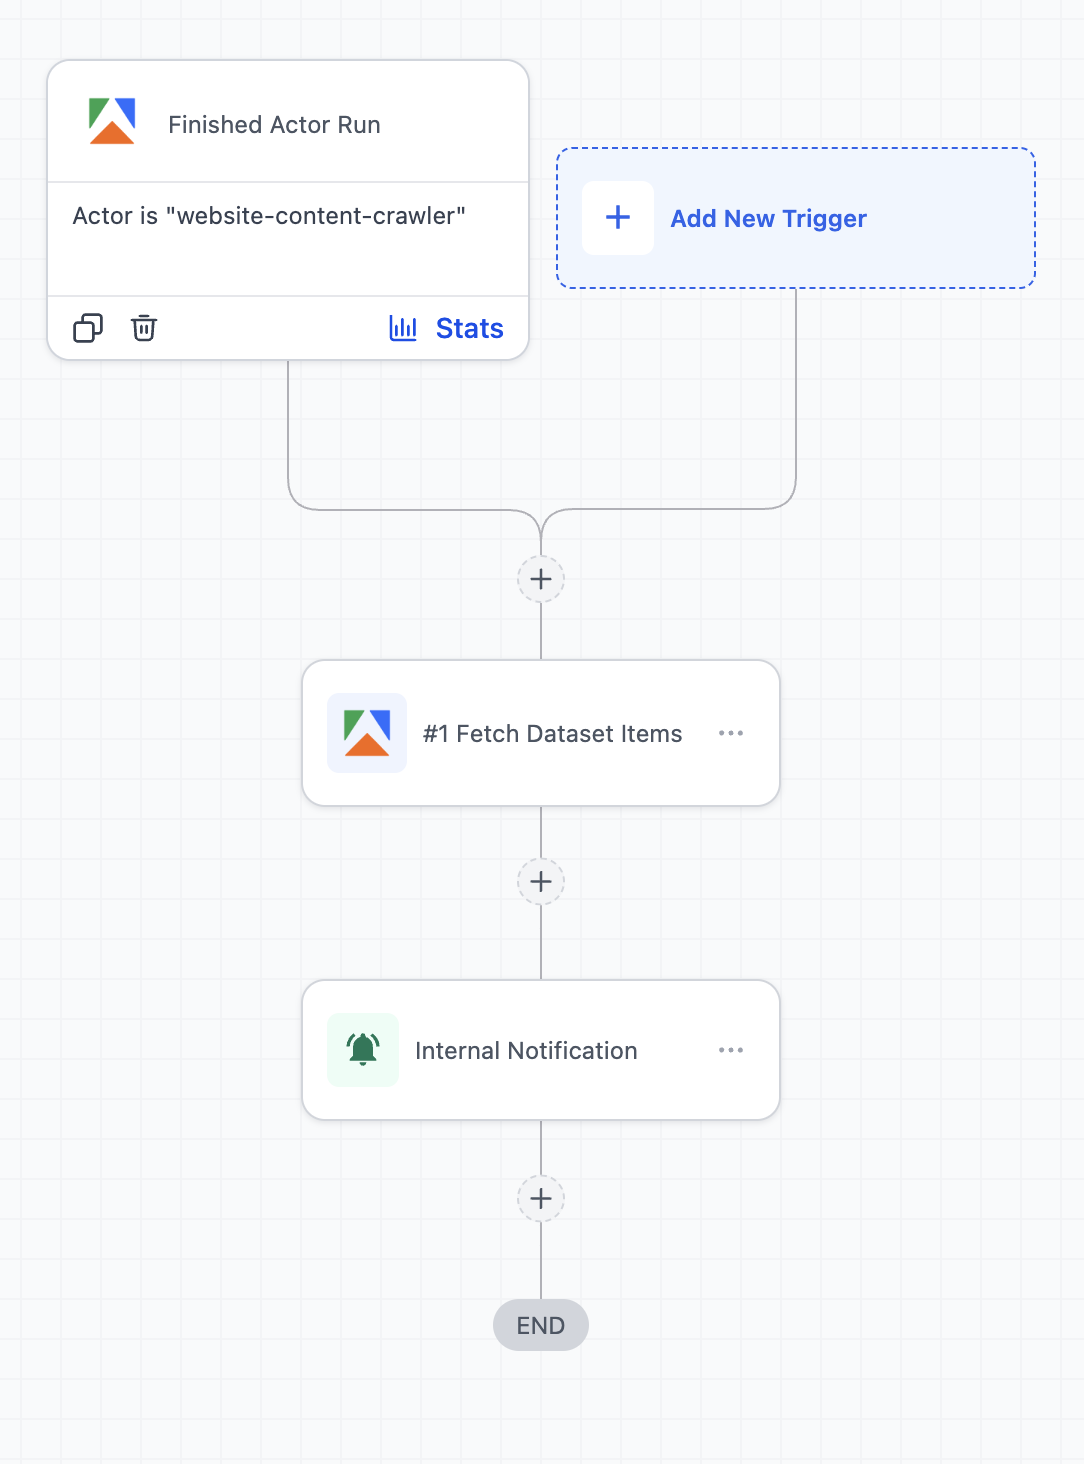
Competitor Monitoring and Alerts
Track competitor updates and respond quickly.
Example: A scraper monitors competitor websites → changes trigger a workflow → your team receives a notification and a task is created for follow-up.
Frequently Asked Questions
Q: How do I handle large datasets?
- Use a Wait step after running a task, then retrieve and process the data in smaller steps.
Q: Are there any costs?
- Yes. Costs may apply based on your Apify usage and workflow activity.
Q: Where do I connect Apify?
- You can connect it within a workflow step or through your integrations settings.
Q: What if no data is returned?
- Check that the Apify job completed successfully, confirm your configuration, add a Wait step if needed, and test again with a smaller dataset.